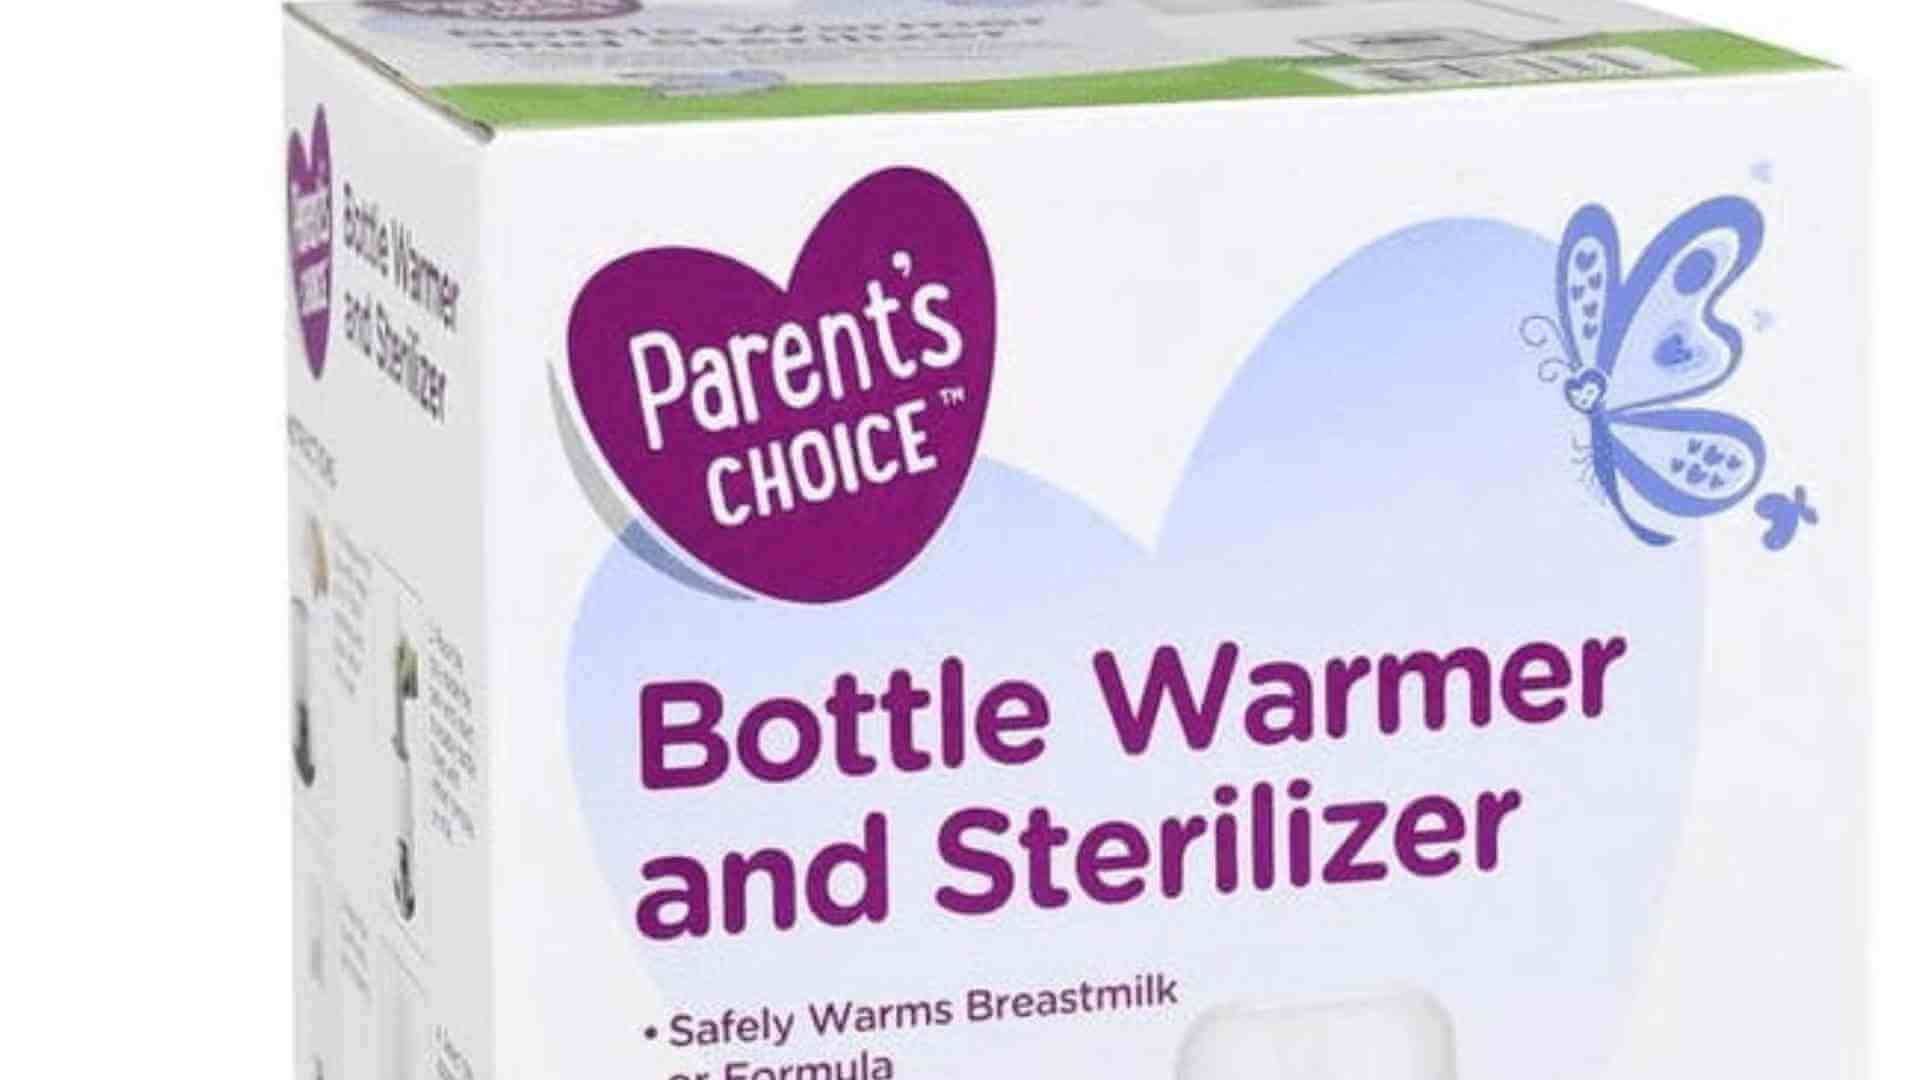
How to Use Parent Choice Bottle Warmer: Easy Steps!
To use the Parent Choice Bottle Warmer, fill it with water and select your desired temperature setting. Place the bottle inside and wait for it to reach the right warmth for your baby’s feed.
Navigating the early stages of parenthood comes with its set of challenges, and ensuring your baby’s milk is at the perfect temperature is vital. The Parent’s Choice Bottle Warmer simplifies this task, providing a safe and efficient way to heat milk to the desired temperature.
This user-friendly appliance is a must-have in your baby gear arsenal, offering convenience and peace of mind. With its compact design, it’s easy to store or travel with, and it fits most bottle sizes, making it a versatile choice for busy parents. Embracing the Parent’s Choice Bottle Warmer in your daily routine can transform feeding time into an effortless, stress-free experience.
Introduction To Parent’s Choice Bottle Warmer
Warming a baby bottle just got easier. The Parent’s Choice Bottle Warmer brings both convenience and safety to feeding time. This device ensures your baby’s milk reaches the perfect temperature.
Understanding The Need For A Bottle Warmer
Using a bottle warmer takes the guesswork out of preparing a baby’s bottle. It provides the right heat every time. It keeps vital nutrients intact and offers consistent comfort for your baby.
Features Of Parent’s Choice Bottle Warmer
- Quick Heating: Warms bottles in minutes.
- Universal Design: Fits most baby bottle sizes and types.
- Temperature Control: Avoids overheating.
- Automatic Shut-off: Ensures safety.
- LED Indicator: Shows when the bottle reaches the right temperature.
Comparative Advantages Over Traditional Warming Methods
| Feature | Parent’s Choice Bottle Warmer | Traditional Methods |
|---|---|---|
| Speed | Fast and reliable | Variable, often slow |
| Temperature Accuracy | Consistent heat | Unpredictable results |
| Convenience | Easy, with one-touch operations | Requires constant attention |
Preparation For First Use
Welcome new parents and caregivers embarking on the nourishing journey of bottle-feeding! Proper preparation of your Parent Choice Bottle Warmer ensures safety and optimal performance. Let’s guide you through the first-time setup process.
Unboxing And Setting Up Your Bottle Warmer
Begin your feeding journey with these simple steps:
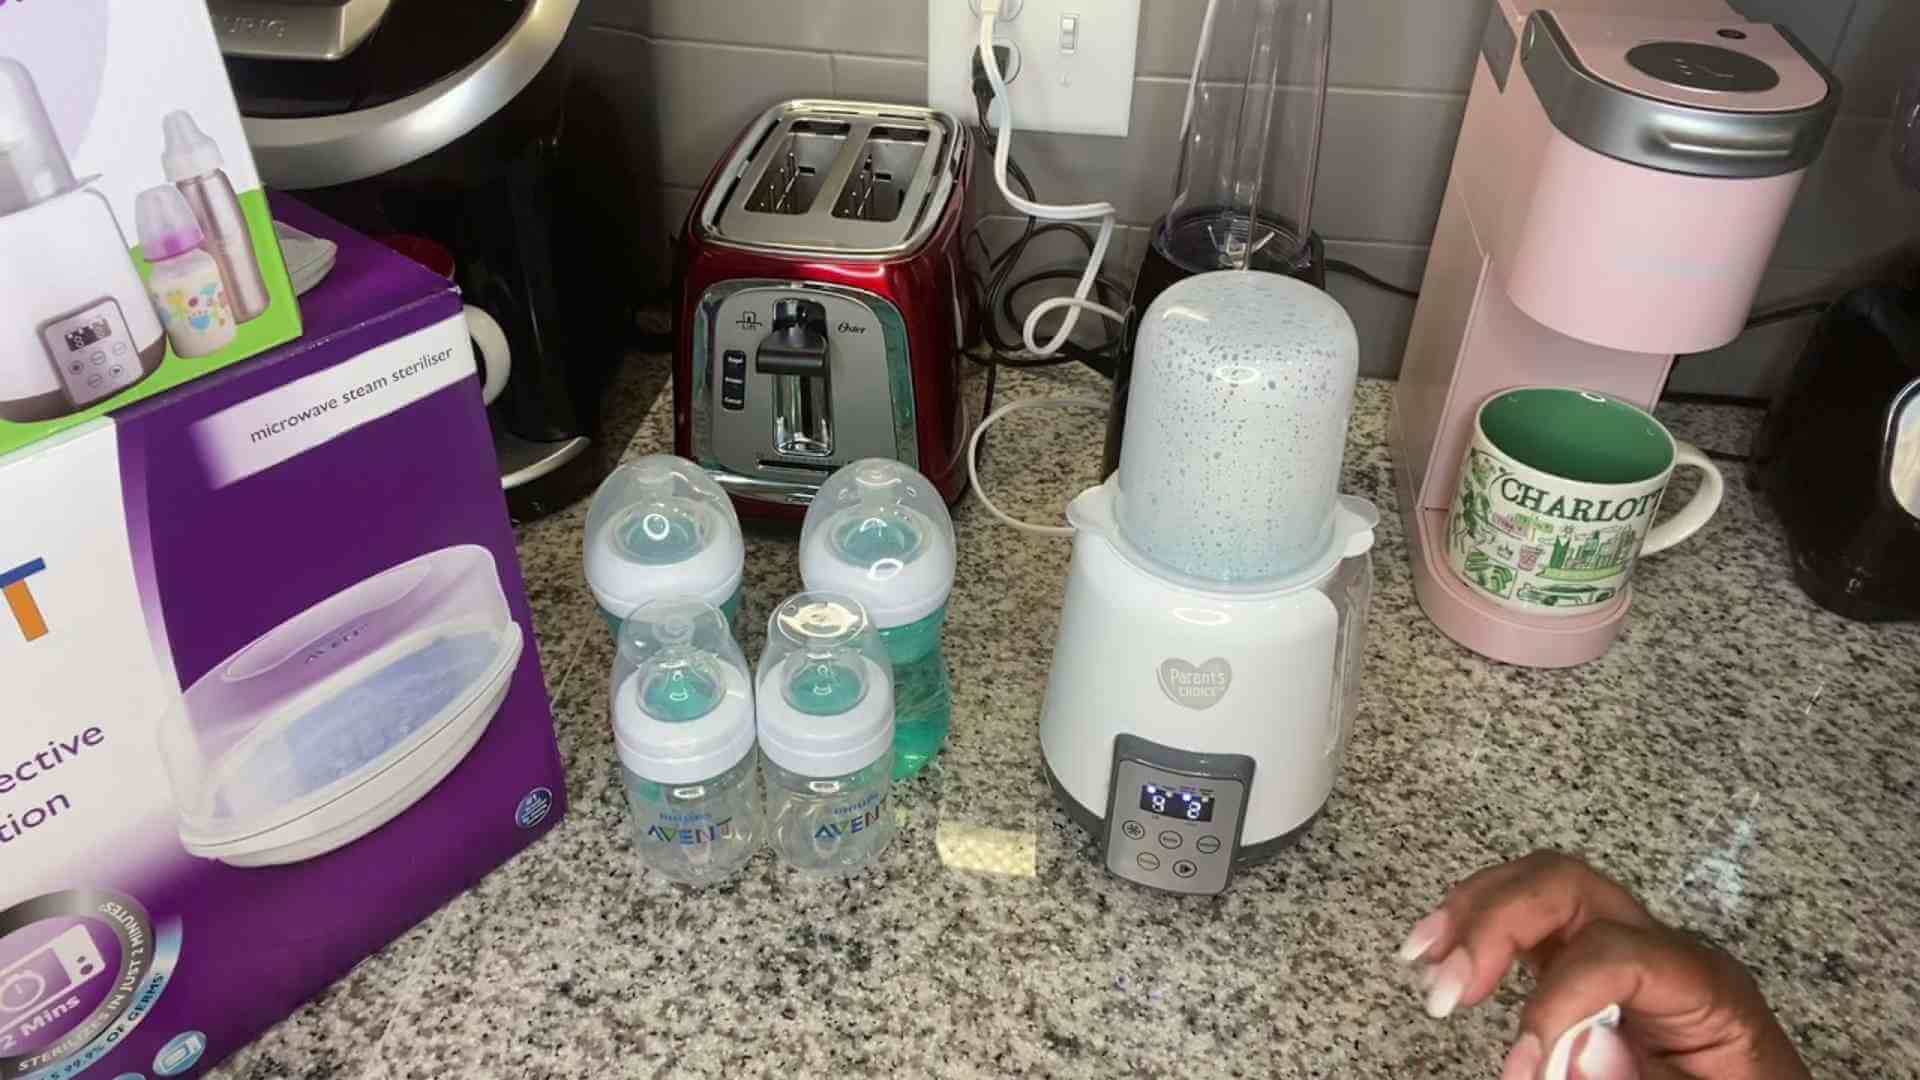
- Open the box and carefully remove the bottle warmer.
- Place the warmer on a flat, stable surface away from water.
- Check for all parts listed in the manual, such as the warming chamber and basket.
- Connect the power cord to a nearby electric outlet.
- Ensure the warmer is off before starting initial cleaning.
Safety Guidelines And Warnings
Take note of these crucial tips:
- Never submerge the warmer in water to prevent electric shock.
- Keep out of reach of children at all times.
- Do not operate with a damaged cord or plug.
- Always unplug the warmer when not in use.
- Read and understand all instructions before use.
Cleaning Before Initial Use
Sanitize your bottle warmer with these steps:
- Wipe the outside with a clean, damp cloth.
- Clean the warming chamber using mild detergent.
- Rinse thoroughly with clean water.
- Dry all components with a soft, dry cloth before first use.
Understanding The Controls And Functions
Understanding the Controls and Functions of your Parent Choice Bottle Warmer is key to effortless and safe heating of baby’s meals. This device simplifies meal times with intuitive features designed for busy parents. Let’s dive into how to make the most of its controls and functions.
Navigating the User InterfaceNavigating The User Interface
Getting familiar with the user interface is your first step. The bottle warmer features a simple, user-friendly panel. You will find buttons that let you turn the device on and off, set the temperature, and adjust the timer. Each button is labeled clearly.
Decoding the Indicator Lights and SoundsDecoding The Indicator Lights And Sounds
The bottle warmer communicates through lights and sounds. A green light signals readiness, while a red light indicates heating in progress. Beeps confirm your settings or alert you to completion. Understanding these cues ensures your baby’s bottle is perfectly warmed every time.
Adjusting Warming Settings and TimerAdjusting Warming Settings And Timer
To adjust the warming settings, use the temperature control button. It allows you to select the ideal heat level for different bottle types. For setting the timer, press the timer button until you reach the desired warming duration. The display shows how long it will take to warm the bottle.
- Low for small bottles or jars of baby food.
- Medium for medium bottles or less liquid.
- High for large bottles or frozen milk.
Step-by-step Guide To Warming A Bottle
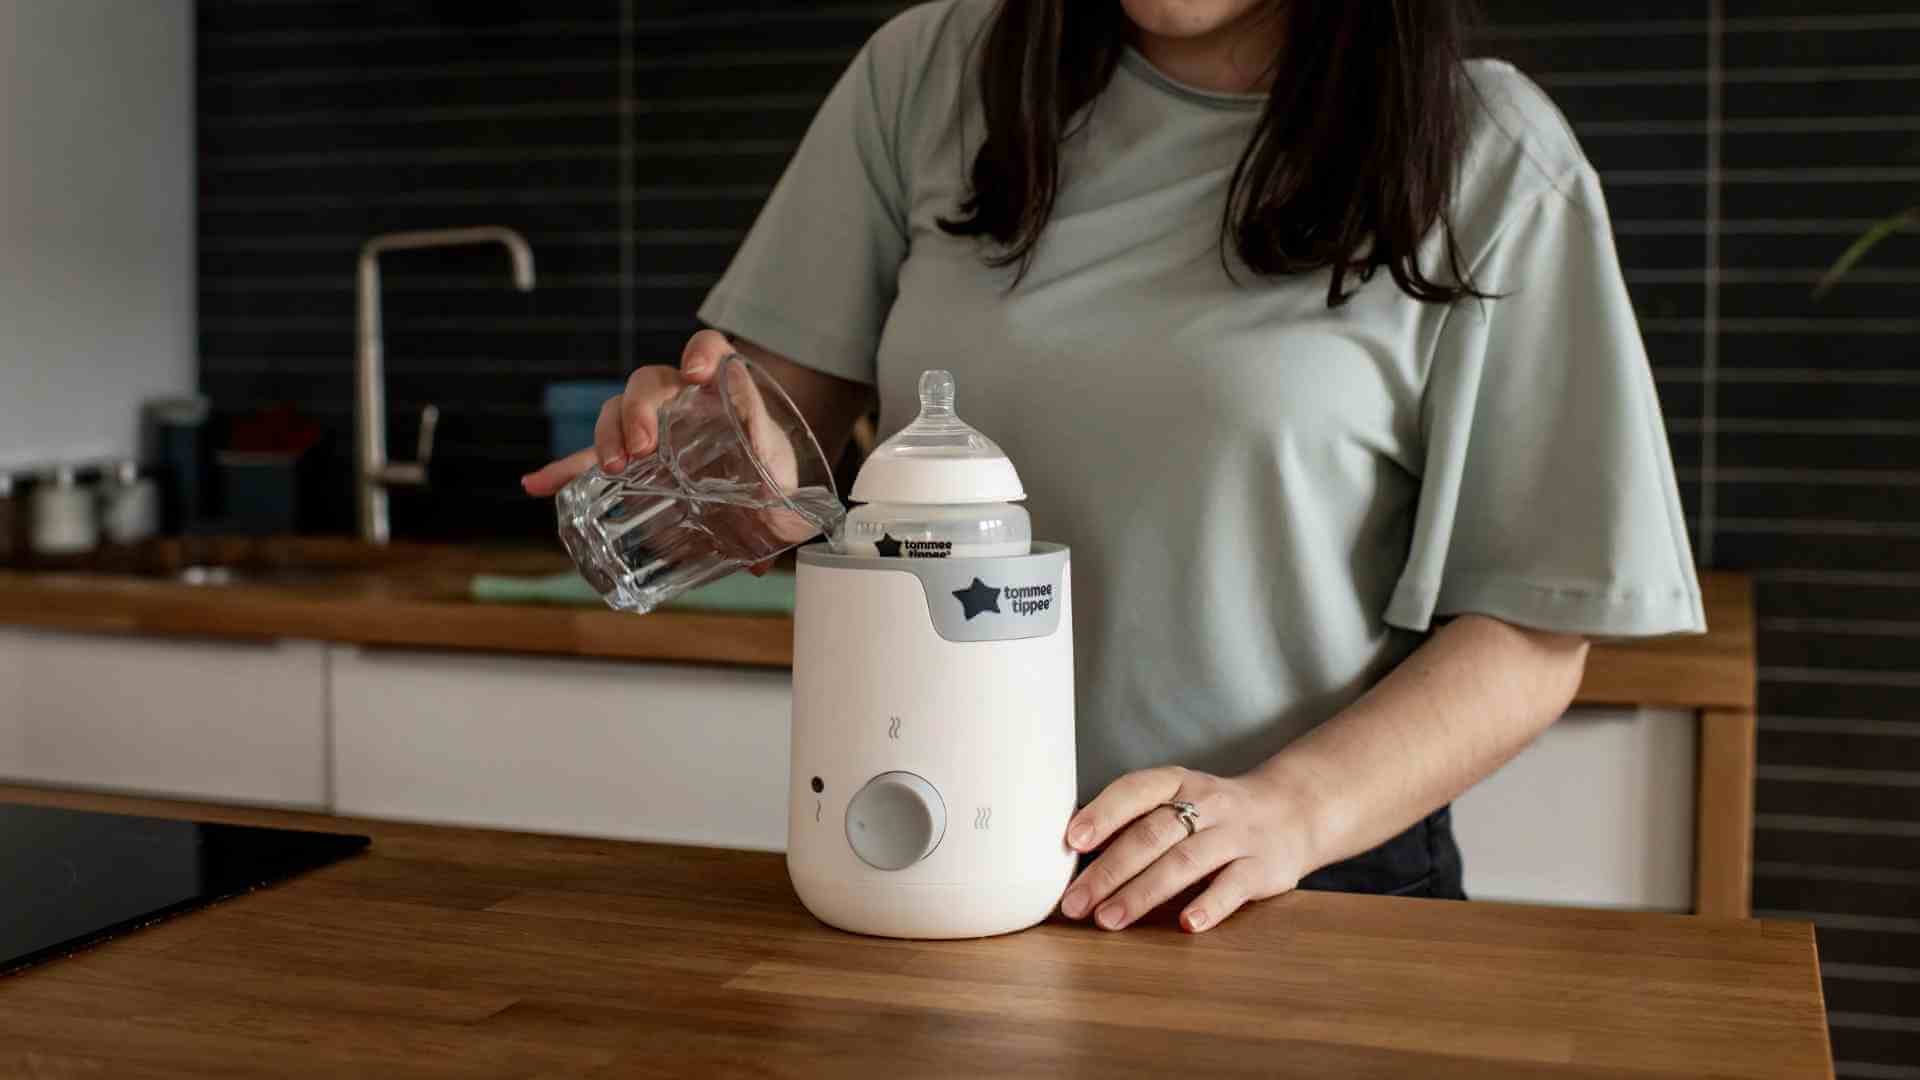
Welcome to the Step-by-Step Guide to Warming a Bottle using the Parent Choice Bottle Warmer. A warm bottle of milk is soothing for your baby, and with the Parent Choice Bottle Warmer, you can heat the milk quickly and safely. This guide will walk you through the simple steps to ensure your baby’s bottle is at the perfect temperature.
Filling The Warmer With Water
Before turning on your bottle warmer, you need to fill it with the right amount of water. Here’s how:
- Check the manual for the recommended water level.
- Use the measuring cup provided to pour water in.
- Fill to the line that corresponds with the bottle’s size.
Choosing The Correct Temperature And Time
Selecting the appropriate temperature and duration is crucial:
| Bottle Material | Temperature Setting | Warming Time |
|---|---|---|
| Plastic | Medium | 3-4 Minutes |
| Glass | Medium-High | 4-5 Minutes |
| Silicone | Low | 2-3 Minutes |
Adjust the settings based on your bottle’s material and the amount of milk.
Placing The Bottle In The Warmer Correctly
For even heating, make sure to place the bottle properly:
- Place the bottle upright in the warmer.
- Ensure the water level is just above the milk in the bottle.
- Screw the lid on tightly to prevent spills.
Once your bottle is in place, press ‘Start’ and wait for the warming cycle to complete. Always test the milk temperature before feeding your baby.
Ensuring Optimal Warming Results
The Parent Choice Bottle Warmer offers a quick and convenient way to warm baby’s milk to the perfect temperature. To achieve the best results, some simple steps can ensure a warm, satisfying meal for your little one.
Testing For The Ideal Temperature
Consistency in milk temperature matters for your baby’s comfort and safety. Follow these steps to test:
- Heat the bottle as per the device instructions.
- Shake the bottle gently to even out the temperature.
- Place a few drops of milk on your wrist.
- If the milk feels neither hot nor cold, it’s just right.
Factors Affecting Warming Time
Understand that various elements can alter the time it takes to warm your bottle:
- Starting temperature of the milk: Cold or room temperature?
- Bottle material and thickness can play a role.
- Amount of liquid in the bottle also makes a difference.
Troubleshooting Uneven Warming
Uneven warming can be frustrating. Take these steps to fix it:
- Ensure the bottle is correctly placed in the warmer.
- Ensure even heat distribution by adjusting the bottle’s position.
- If issues persist, consult the manual or contact customer support.
Accommodating Different Types Of Bottles
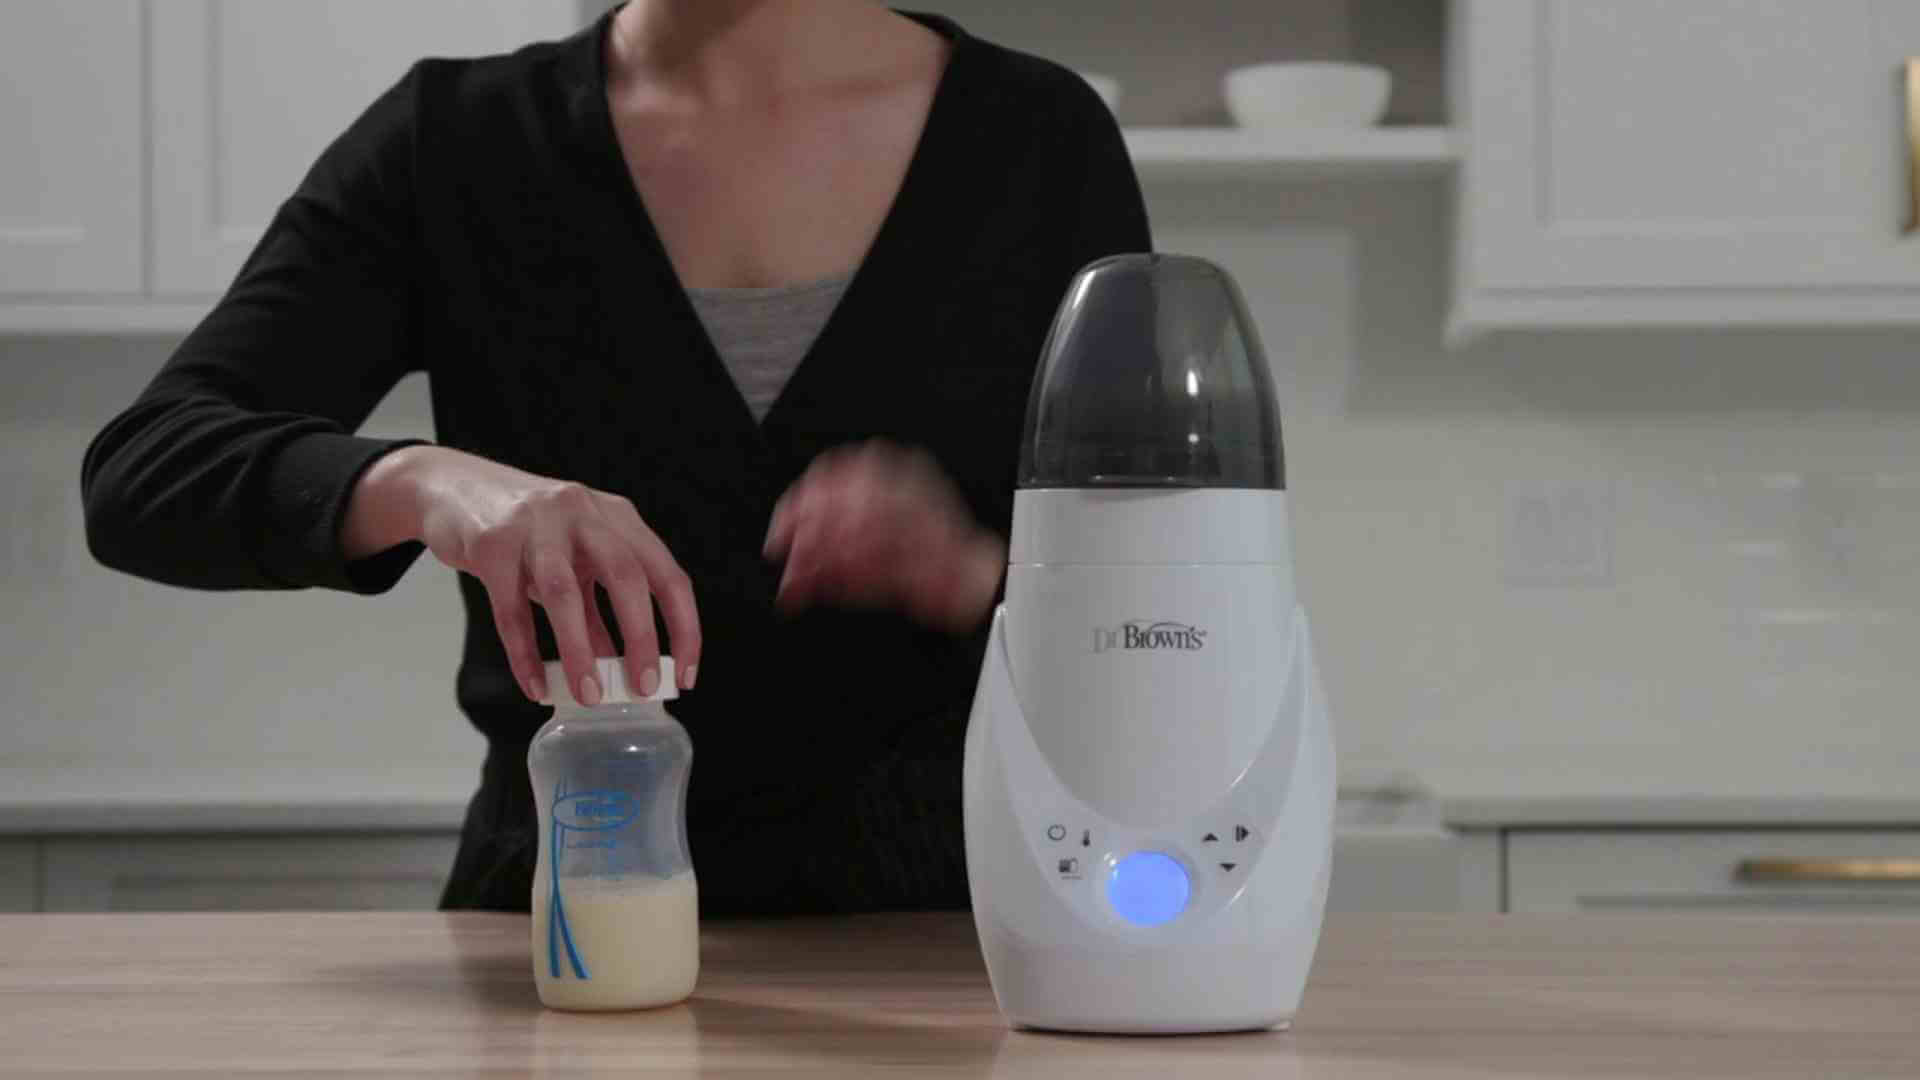
The Parent Choice Bottle Warmer proves versatile for busy parents. It easily manages various bottle types. Glass, plastic, or silicone, this warmer accommodates them all. Even breast milk bags and food jars find a snug fit. Understanding how to adjust for size and material ensures a safe and effective warming experience. Let’s explore the right adjustments for your baby’s bottle.
Adjusting For Bottle Size And Material
Bottles come in different shapes and sizes. The Parent Choice Bottle Warmer is designed to adapt.
- Check for a size dial or adjuster on your bottle warmer.
- Turn or slide to match your bottle’s size.
- Plastic bottles need lower heat than glass ones.
- Use the right setting for your bottle’s material.
- Warm bottles safely.
Using The Warmer For Glass Bottles
Heating glass bottles needs extra care. The Parent Choice Bottle Warmer is ready for this task.
- Select the glass bottle setting if available.
- Start with a lower temperature.
- Increase heat as needed. Avoid too much, too fast.
- Check the warmth before giving it to your baby.
- Prevent hot spots in milk or formula.
Warming Breast Milk Storage Bags And Food Jars
Not just for bottles, the warmer suits bags and jars, too.
For breast milk storage bags:
- Lay them flat in the warmer.
- Use water bath settings if possible.
- Check the temperature before feeding.
For food jars:
- Remove the lid before warming.
- Stir the food for even heat distribution.
- Test the warmth before serving.
- Avoid overheating.
Maintaining Your Bottle Warmer
Keeping your Parent Choice Bottle Warmer in top condition ensures it’s always ready for your baby. Maintenance is simple and brings peace of mind, knowing your device is clean and functioning well.
Daily Cleaning Routine
To prevent milk buildup and ensure hygiene, a daily clean is essential. Use these steps:
- Unplug the warmer and let it cool down.
- Remove any remaining water.
- Wipe the inside with a damp cloth.
- Clean the exterior with mild soap.
- Rinse all soap residue thoroughly.
- Dry completely before the next use.
Descaling Process For Longevity
Remove mineral deposits monthly to keep your warmer working well. Follow this process:
- Mix equal parts of water and white vinegar.
- Fill the warmer half-full with the solution.
- Run a warming cycle, then let it sit for 10 minutes.
- Empty the warmer and rinse it with cool water.
- Repeat rinsing until the vinegar smell is gone.
Storing Your Bottle Warmer When Not In Use
Proper storage prevents damage and extends the life of your bottle warmer. Stick to these guidelines:
- Cool Down: Ensure the device is completely cool.
- Clean: Follow the daily cleaning routine.
- Dry: No moisture should remain on or inside the warmer.
- Store: Place it in a dry, cool place away from direct sunlight.
- Cover: Protect it from dust with a clean cloth or inside its original box.
Safety Precautions And Best Practices
When warming up your baby’s bottle, safety is as important as convenience. The correct use of a Parent Choice Bottle Warmer ensures your infant enjoys their meal without any risks. Here, we will delve into safety precautions and best practices to keep you and your little one safe.
Preventing Burns And Overheating
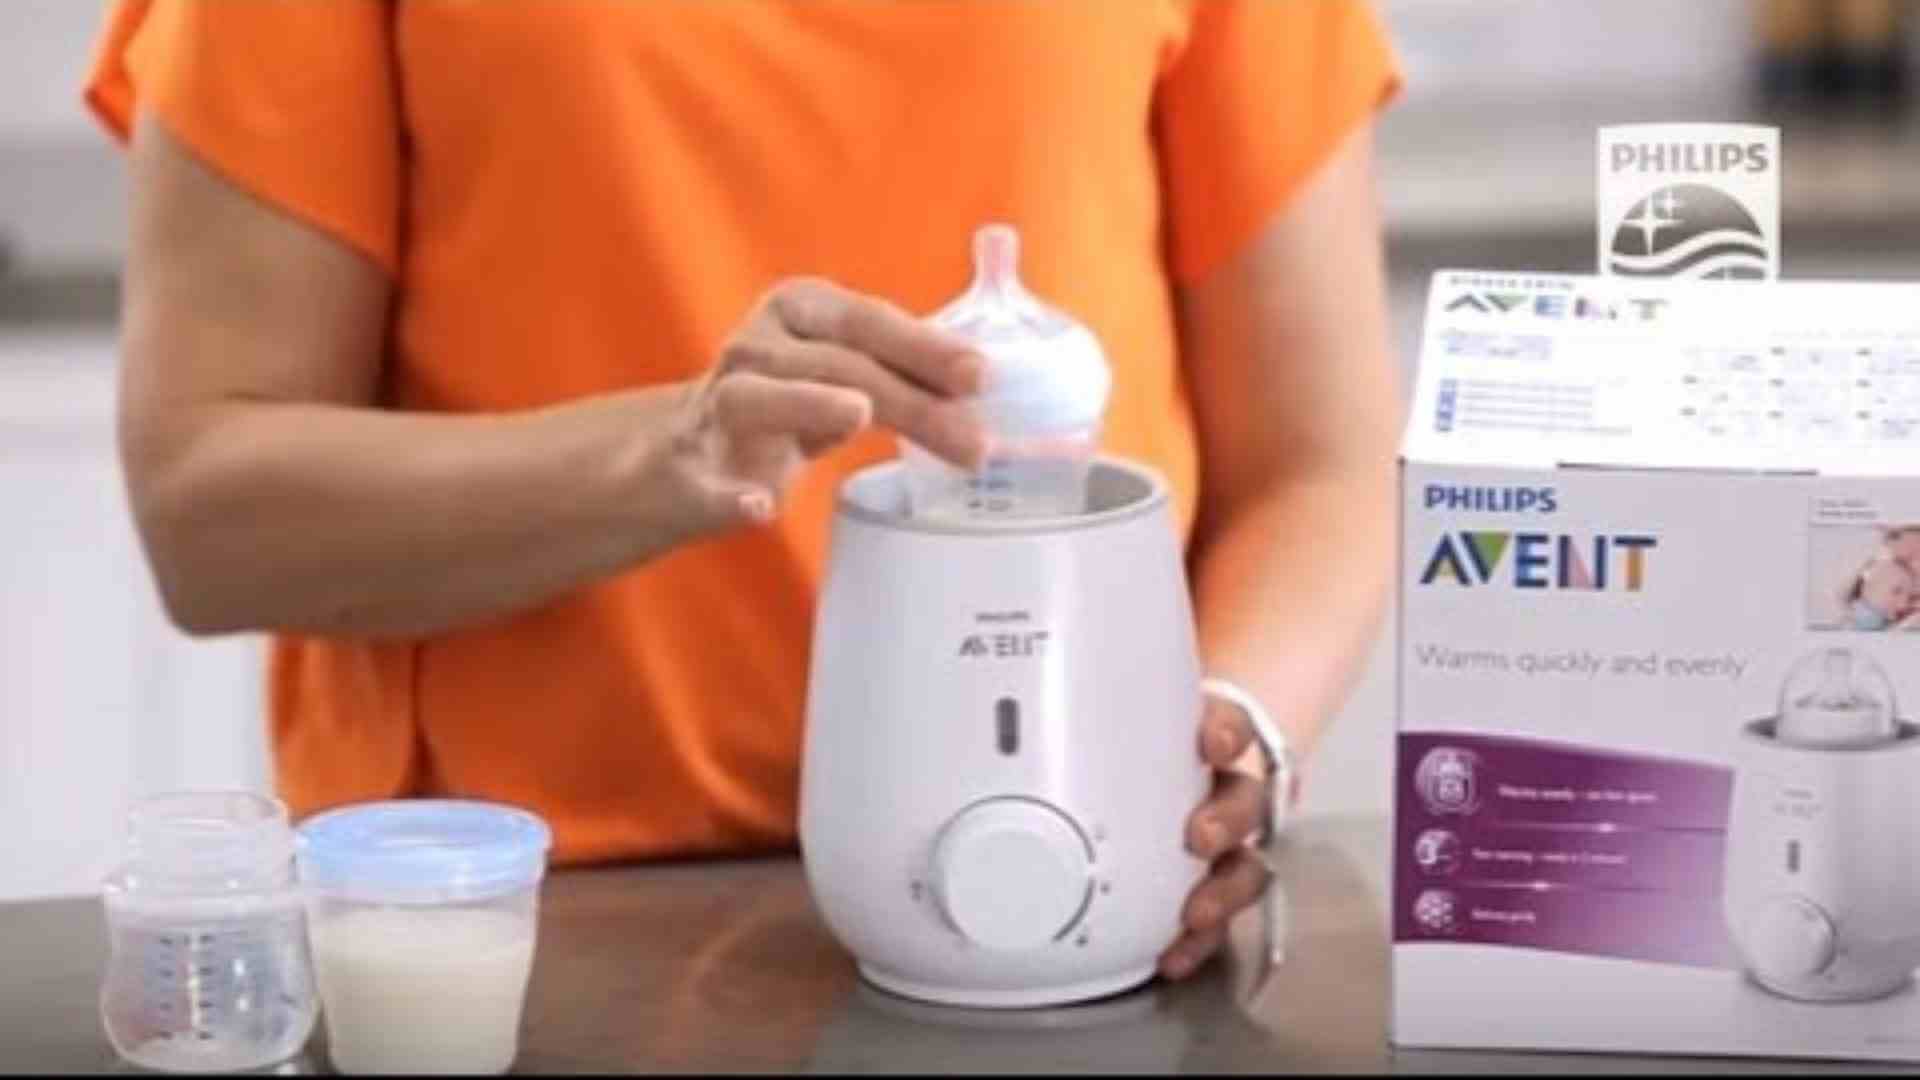
- Test the temperature before giving the bottle to your child. Use your wrist, it’s more sensitive.
- Don’t leave the bottle in the warmer for too long. Follow the recommended duration.
- Unplug the warmer when not in use to prevent any accidents or overheating.
- Be cautious around steam. Steam can burn, so open it away from you and your child.
Handling Electrical Components Safely
Check the cord for any damage before using. Frayed wires can pose a hazard.
Always plug the warmer directly into the outlet. Avoid using extension cords as they can overheat.
Keep the warmer dry and away from water to prevent electrical shocks. Make sure hands are dry too.
Guidelines For Safe Use Around Children
Keep the bottle warmer out of reach when in use. Curious babies can pull it down, risking burns or shock.
Never let children operate the bottle warmer. It is not a toy and requires adult supervision.
Use the warmer in a safe area. Make sure it’s on a stable, heat-resistant surface.
Troubleshooting Common Issues
Having trouble with your Parent Choice Bottle Warmer?
That’s frustrating, but we’ve got some fixes right here.
Dealing With Malfunctions And Errors
Seeing error messages or noticing odd warmer behavior?
Relax, let’s go through some steps:
- Check the power source;
- Verify the warmer is plugged in securely;
- Reset the device by unplugging for a minute, then reconnect.
What To Do If The Warmer Doesn’t Heat
Warmer’s not getting hot?
Here’s a quick guide:
- Ensure you are using the correct settings according to the manual;
- Check if there’s a need for water refill,
- Wait for a few minutes after turning it on;
- If still cold, contact for help.
Customer Support And Warranty Claims
Need extra help or wish to claim a warranty?
Customer support is ready to assist:
- Prepare your warmer’s details;
- Keep your purchase proof handy;
- Reach out through the company’s helpline, or
- Follow instructions for warranty service.
Maximizing The Use Of Your Bottle Warmer
Maximizing your Parent Choice Bottle Warmer not only streamlines feeding time. It opens up a world of possibilities for simplifying daily tasks. Understanding how to get the most out of your bottle warmer can change your routine significantly. Let’s explore some creative uses and routine tips.
Creative Uses Beyond Baby Bottles
Think outside the box with your bottle warmer. This handy device can do more than just warm bottles:
- Warm baby food jars quickly and evenly.
- Use it to heat up coffee or tea when you’re on the go.
- Thaw breast milk without losing nutrients as you would with a microwave.
- Even small towels can be warmed for a comforting wipe during clean-ups.
Incorporating Into Your Baby Feeding Routine
Integrating the bottle warmer into your feeding cycle is a game-changer. Here’s how:
- Set up the warmer in a convenient location for easy access.
- Always have a bottle ready for the next feeding.
- While the bottle warms, use that time for diaper changes or cuddles.
Having an organized process in place saves precious time for parents.
Key Takeaways For Busy Parents
A bottle warmer can be a lifesaver. Remember these quick tips:
- Consistency
- Keep the feeding station stocked and prepped.
- Multi-Task
- The warmer can multitask, so you have more time.
- Time-Saver
- Quickly heat on demand, reducing wait times.
Frequently Asked Questions For How To Use Parent Choice Bottle Warmer
How Long Does Parents Choice Bottle Warmer Take To Warm Up?
The Parent’s Choice Bottle Warmer typically takes 3 to 4 minutes to warm a bottle.
How Do I Use My Bottle Warmer?
Fill the warmer with water as directed, then place your bottle inside. Turn on the device, wait for the indicator light, and ensure the bottle is evenly heated. Always test the temperature before feeding your baby.
Can You Sterilize Pacifiers In Parents Choice Bottle Warmer?
No, the Parents Choice bottle warmer is not designed to sterilize pacifiers. It is intended only for warming bottles.
How Much Water Do You Put In A Bottle Warmer?
Always consult the bottle warmer’s manual for specific measurements, but generally, you will need to add around 15ml of water. This amount can vary based on the model and size of the bottle.
How Does Parent Choice Bottle Warmer Work?
Parent Choice Bottle Warmer gently heats bottles using steam, ensuring a consistent temperature throughout to safely warm milk or formula.
Conclusion
Wrapping up, mastering the Parent Choice Bottle Warmer provides a seamless experience for preparing your baby’s meals. Remember to prioritize safety, efficiency, and cleanliness with each use. Embrace this clever gadget to simplify your feeding routine, ensuring your little one gets cozy, perfectly warmed nourishment every time.
